$ cat ~/projects/splitit/README.md
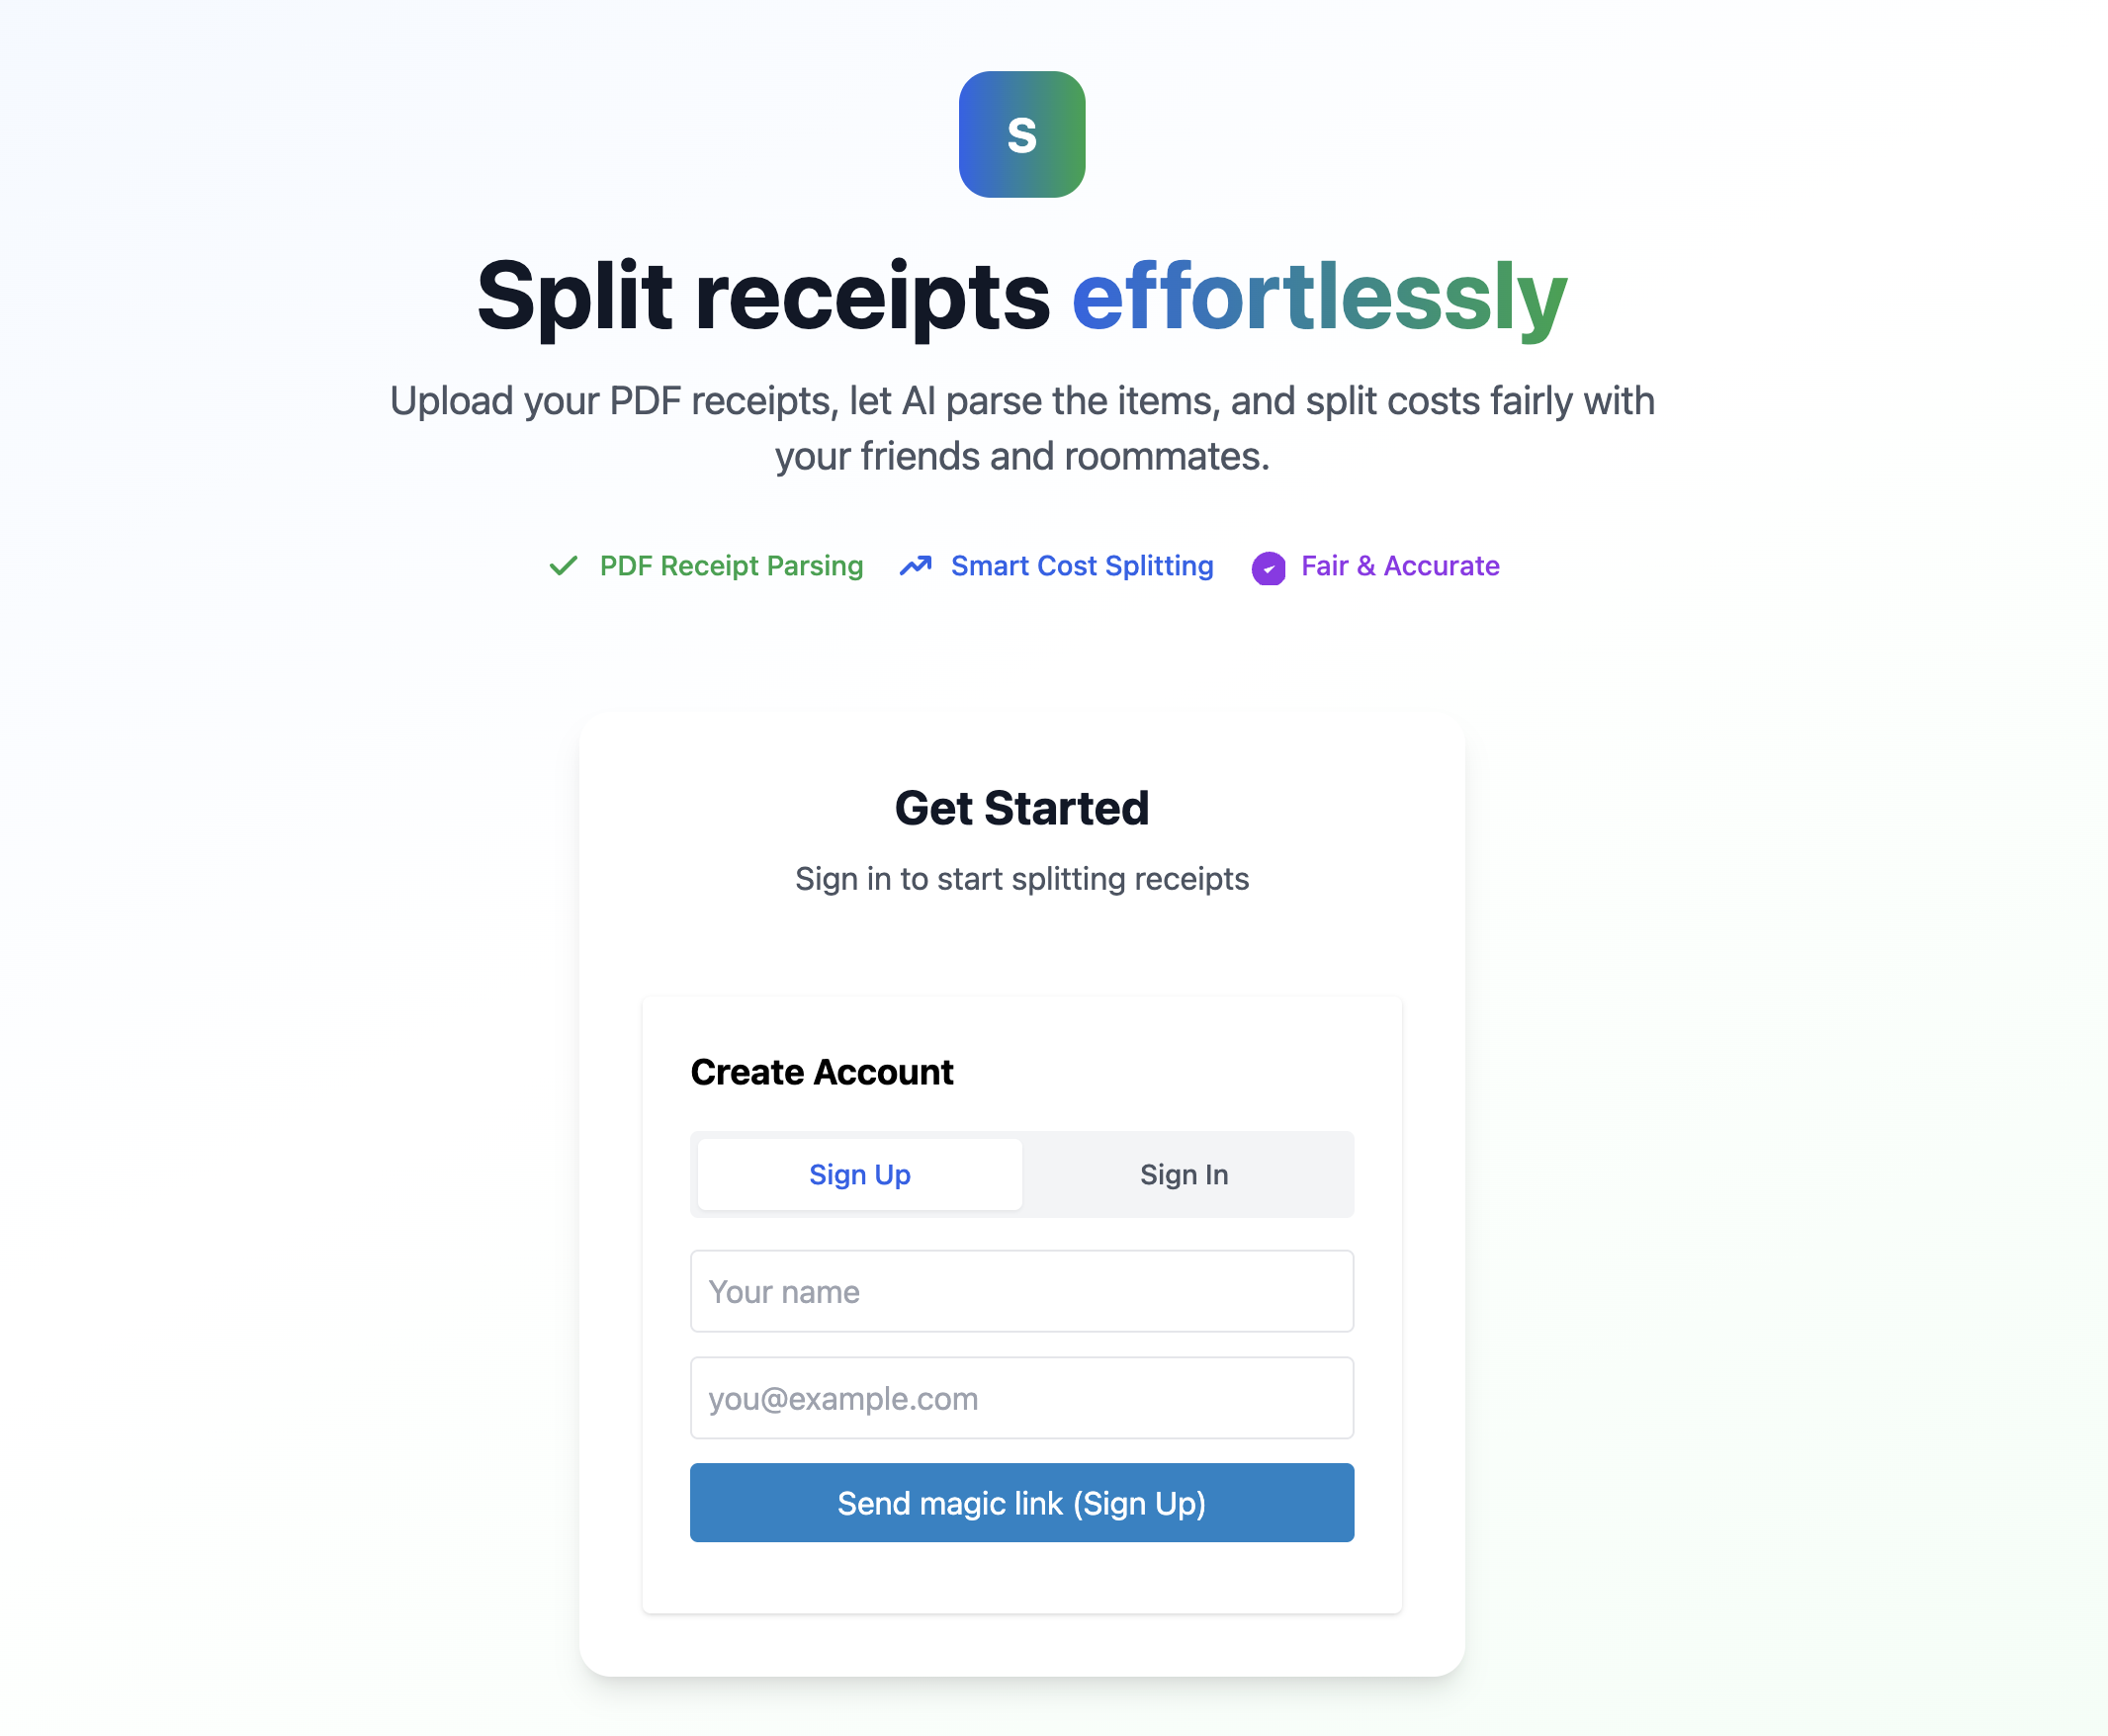
SplitIt - Smart Receipt Splitter
Every time we did groceries as roommates, we waited weeks before splitting the receipt as it was a hassle. By then, nobody remembered who bought what. Arguments started over simple things like "Whose milk was this?" or "Did I even buy cheese last month?".
SplitIt fixes that. Upload the Walmart PDF receipt after each order, let everyone claim their items, and get an instant, fair breakdown. No more confusion, no more guessing.
What It Does
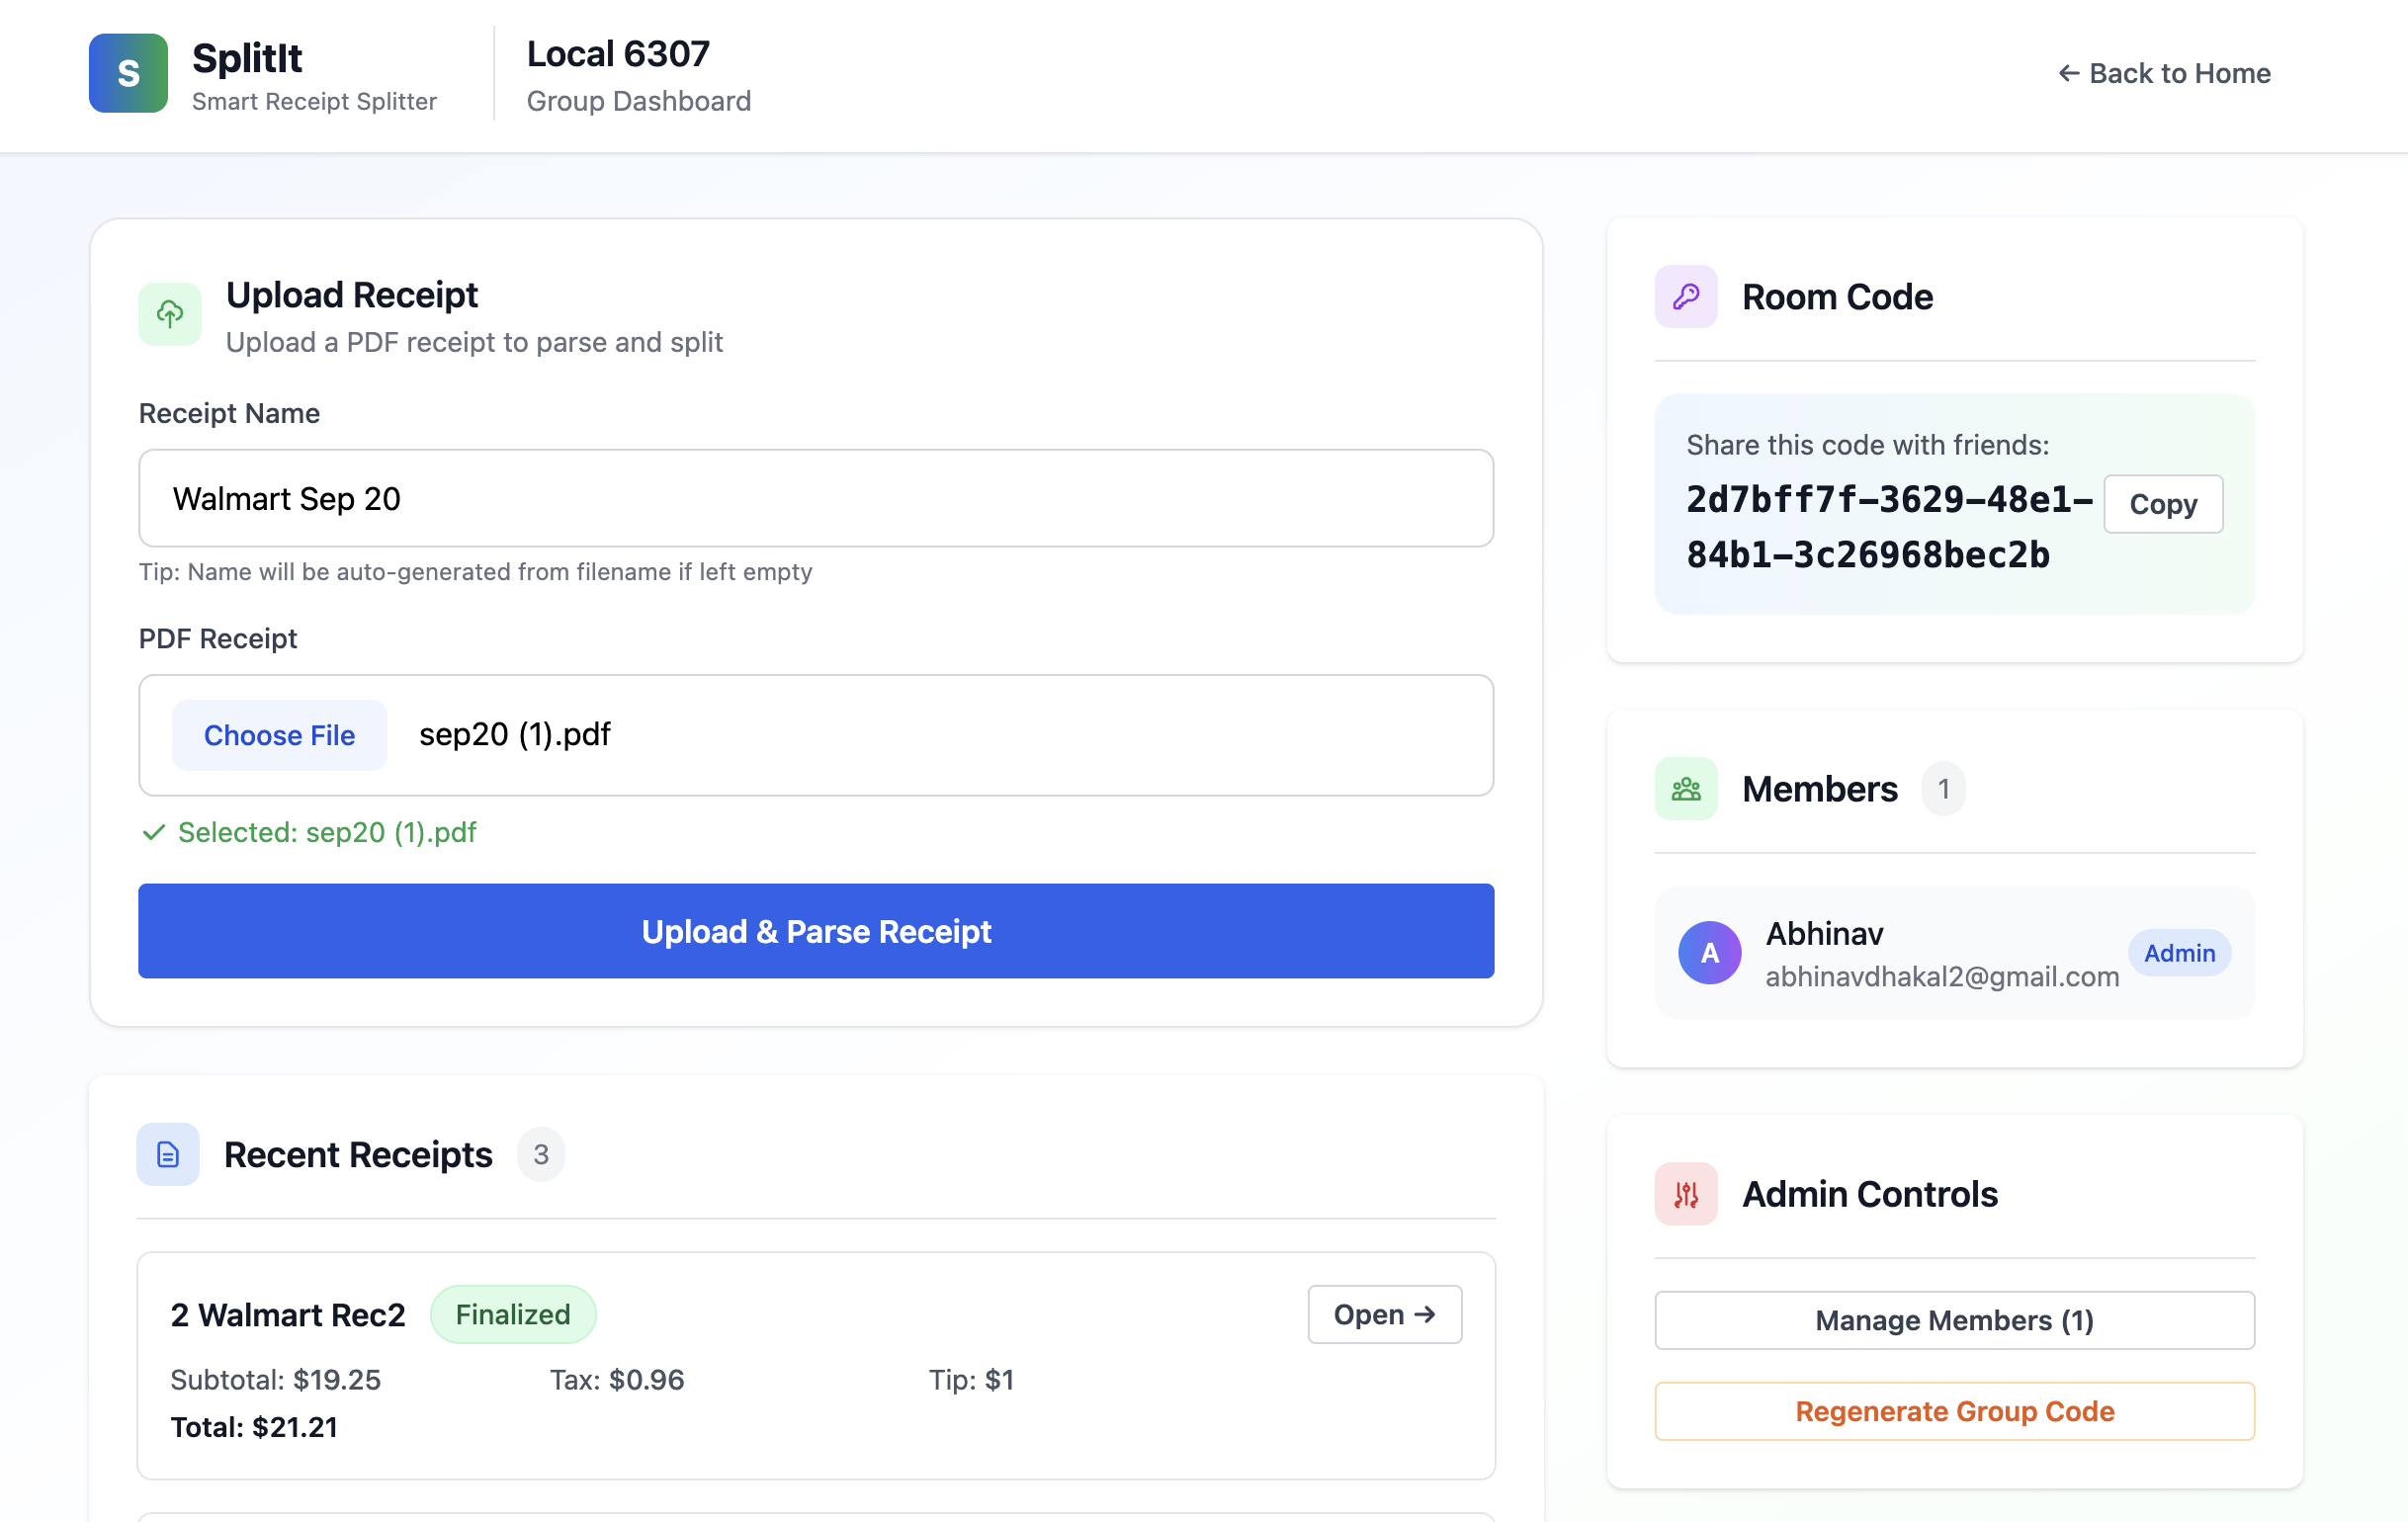
- Create or join groups with simple codes
- Upload Walmart PDF receipts (other formats coming later)
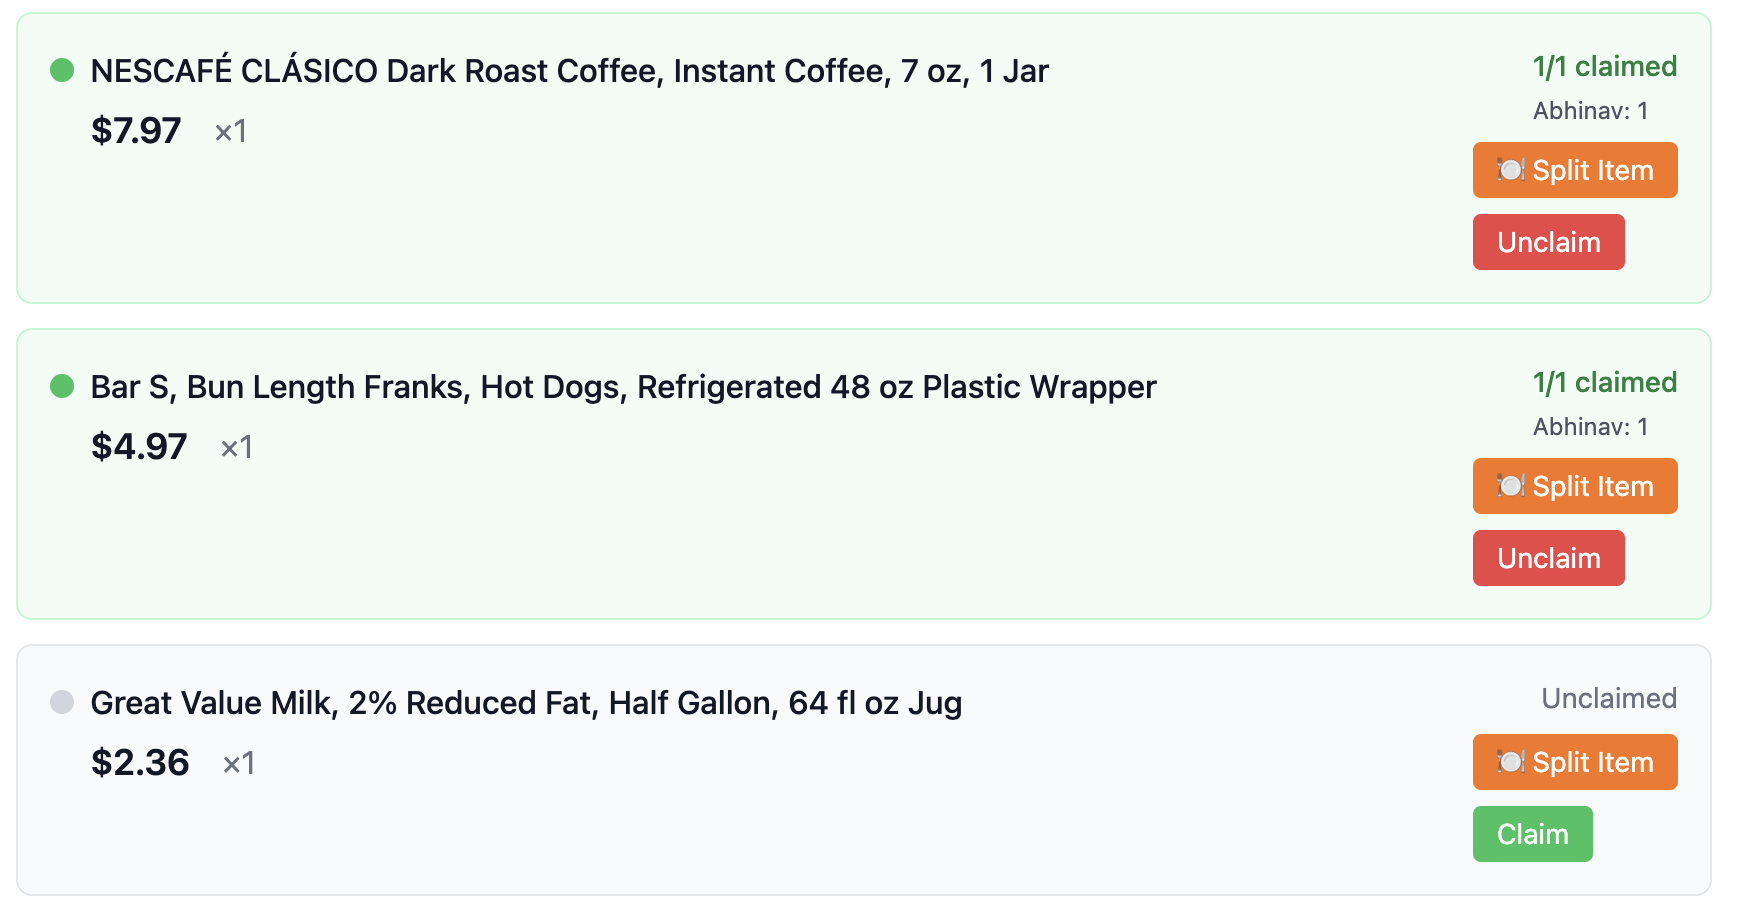
- Claim items individually or split them with others
- Tax and tip divided fairly and automatically
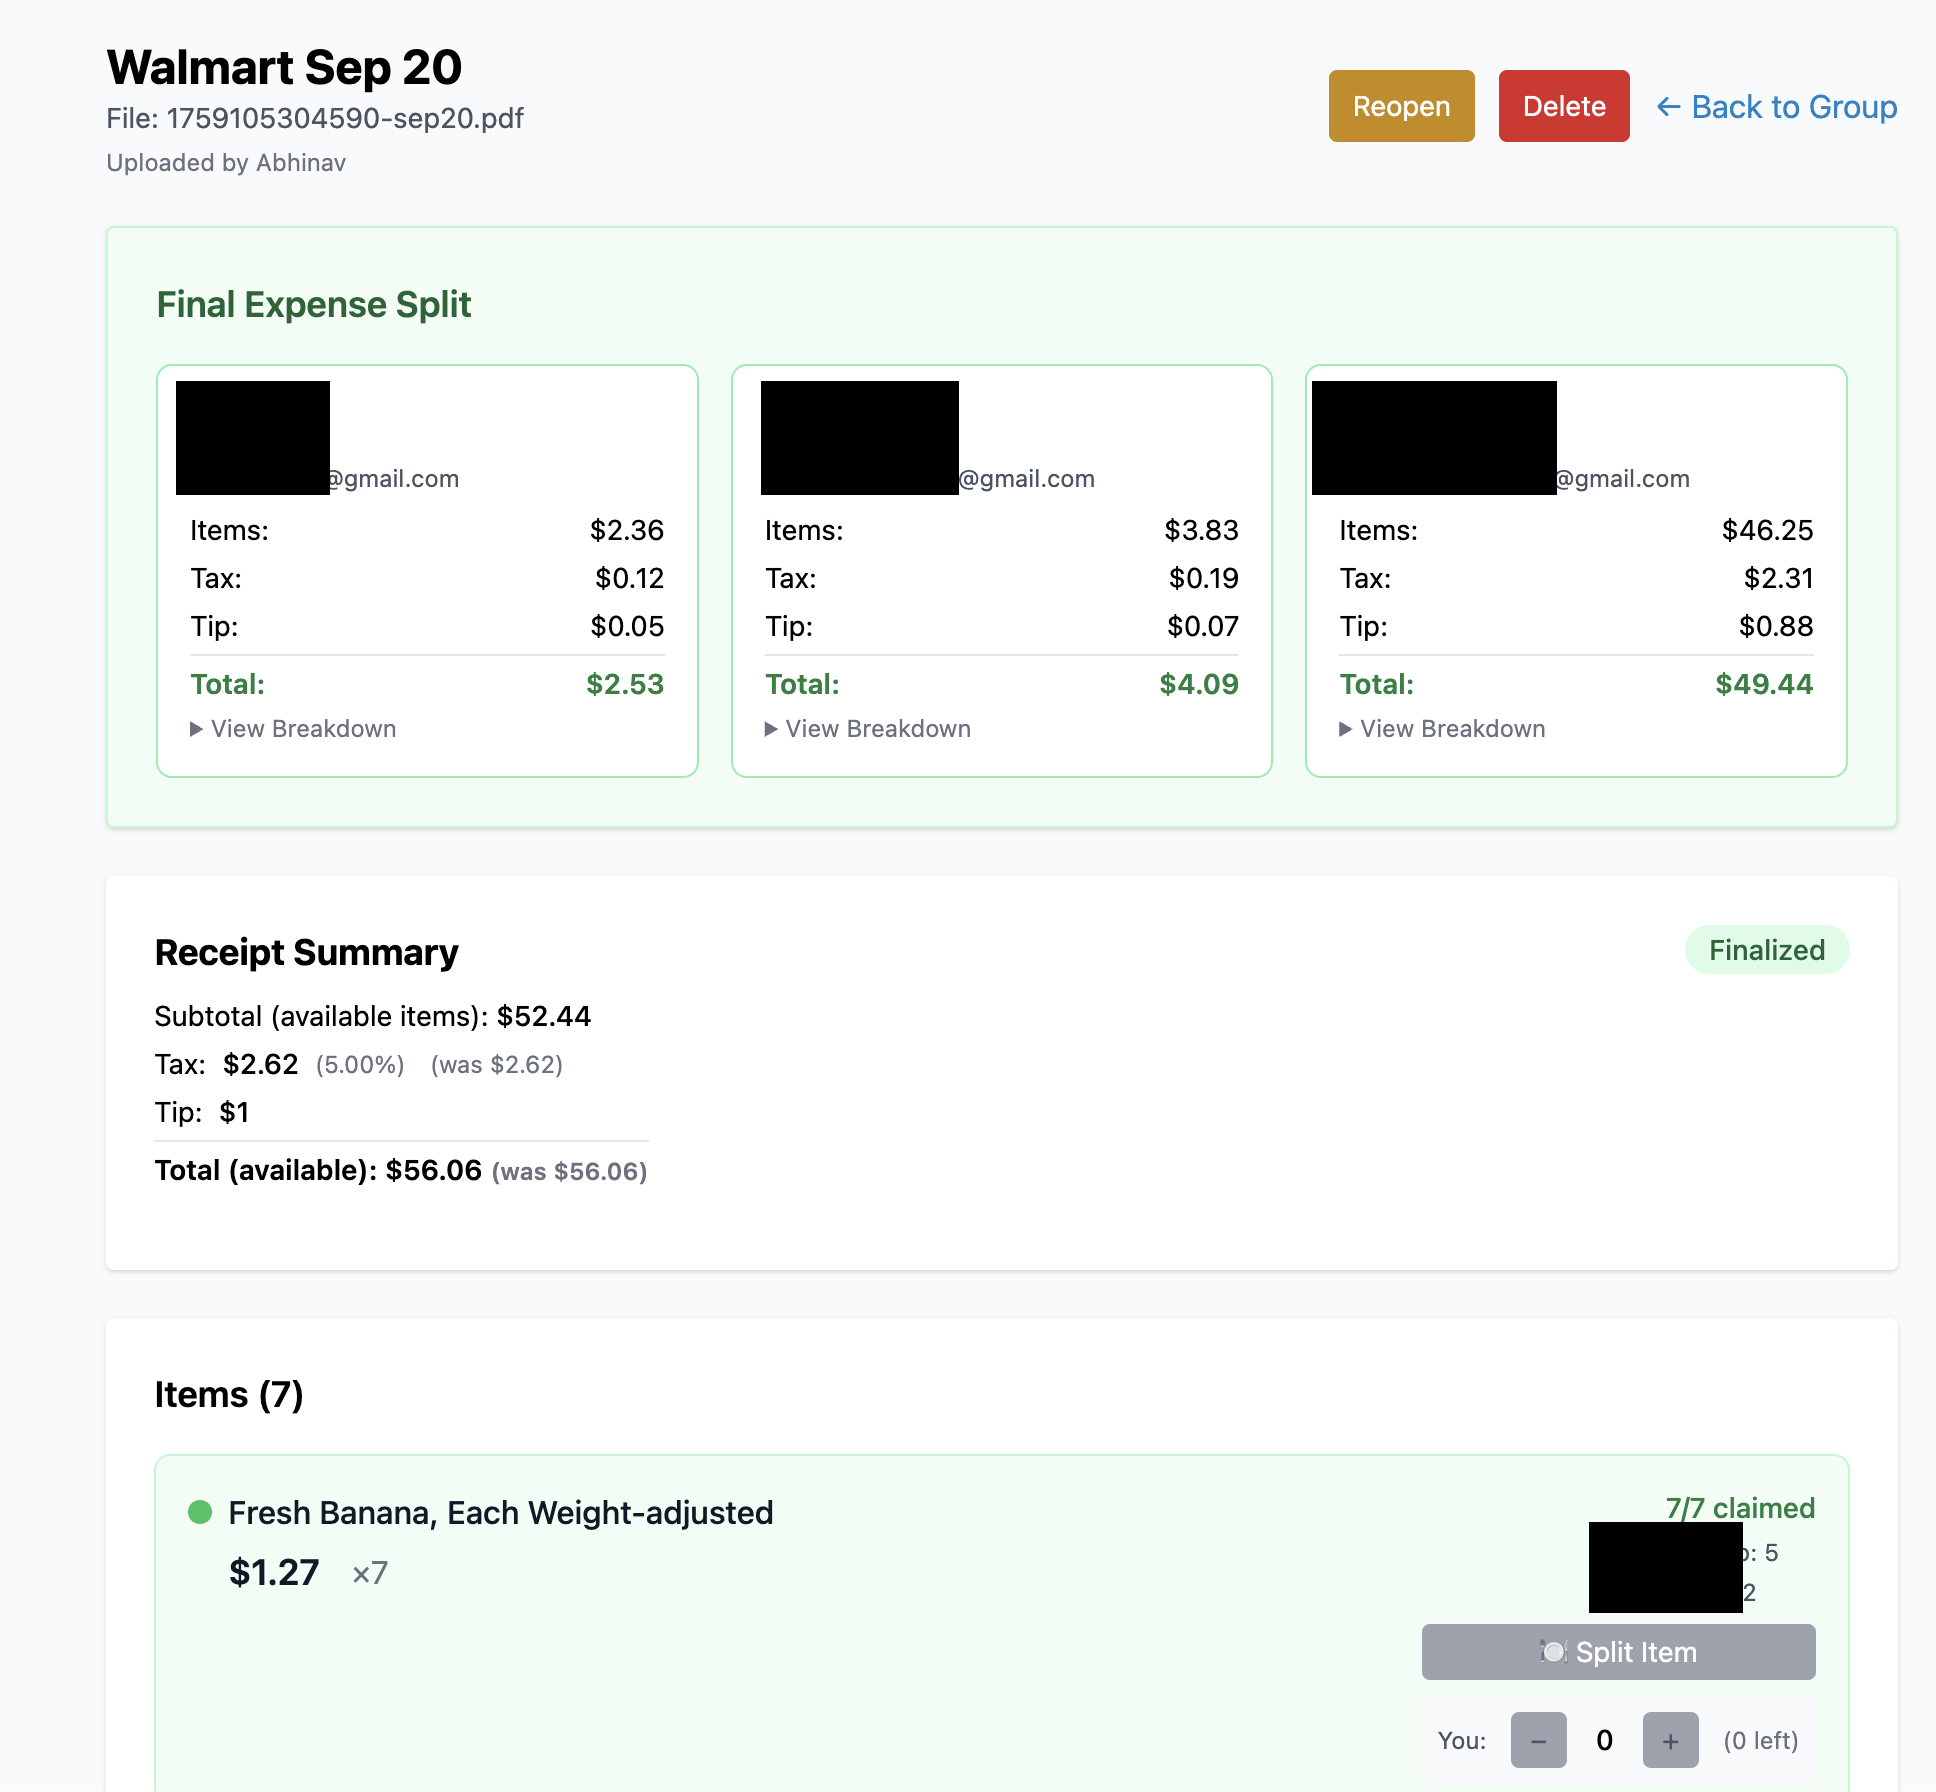
- Clear summary of who owes what
Screenshots

Example
Total receipt: $47.83 Alice: Milk, Bread, 3 Apples Bob: Cheese, 2
Apples Result: Alice pays $32.15, Bob pays $15.68. Weeks later,
everyone can still see exactly what they claimed.
Setup
Requirements
- Node.js 18+
- Supabase account
- Netlify (for hosting)
Database
- Create a new project in Supabase
-
Open the SQL editor and run
complete-setup.sql(this sets up all tables and creates thereceiptsstorage bucket) -
In Supabase, go to
Connect → App Frameworks → Next.js and copy the
provided
.env.localvariables
Local Development
-
Create a
.env.localfile in the project root and paste your Supabase variablesNEXT_PUBLIC_SUPABASE_URL=your_url NEXT_PUBLIC_SUPABASE_ANON_KEY=your_key -
Install dependencies
npm install
-
Run the app locally
npm run dev # Open http://localhost:3000
Deploying to Netlify
- Push this project to your own GitHub repository
- In Netlify, click New site from Git and select your repo
-
Under Site settings → Environment variables, add
the Supabase variables from
.env.local -
Netlify will auto-detect Next.js and use:
npm run build
- After build, your app will be live at a Netlify URL (you can also set a custom domain)
Connect Supabase and Netlify
- Copy your Netlify site URL
- In Supabase, go to Authentication → URL Configuration
- Add the Netlify URL to the list of allowed redirect URLs
- Save changes
You're done — users can now log in and start splitting receipts.
Tech Stack
Next.js
React
Tailwind CSS
Supabase
PostgreSQL
PDF.js
Netlify
Current Limitations & Future Plans
- Works only with Walmart PDF receipts right now
- Support for scanning printed receipts and other stores is planned
- Mobile app version in consideration